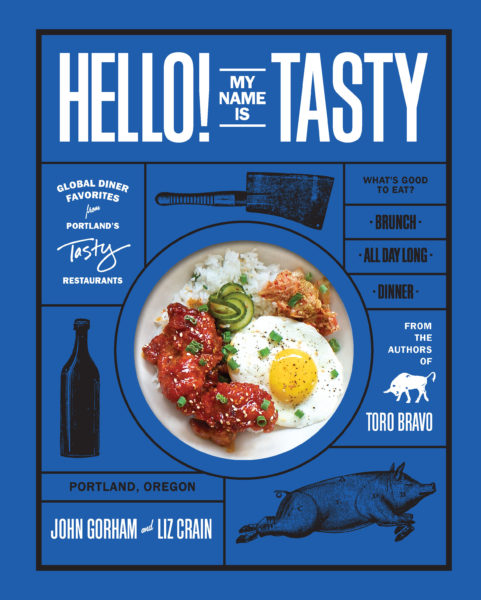
Hello! My Name is Tasty reveals the secrets to the recipes that make Portland’s Tasty n Sons and Tasty n Alder brunch powerhouses. Chef John Gorham and co-author Liz Crain are holding nothing back, allowing home cooks to make a little of the magic behind Tasty’s global diner fare. 4 stars
********************************
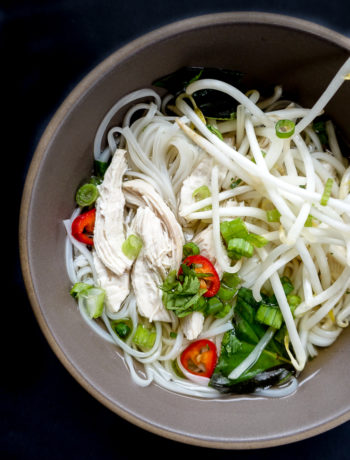
I’ve been a fan of Tasty n Sons brunch for years. It’s still one of the top places I recommend to friends rolling through Portland, Oregon. The Tasty restaurants are “globe-trotting, all-cylinders-firing, big flavored, diverse brunch and dinner spots.” The menus mix biscuits and jam, lemon ricotta pancakes, Bim Bop Bacon and Eggs, and Shakshuka in one menu. Now, Chef John Gorham and co-author Liz Crain reveal the secrets to those recipes and more in Hello! My Name is Tasty, out today from Sasquatch Books.
In putting together a menu, Gorham wants at least one thing “to hit your core, to connect with you. Oftentimes that means comfort–something warm and homey.” Look through the book and you see that everywhere, not just in the obvious fried egg and cheddar biscuit with fried chicken, or the soft-baked bread pudding. It’s in the funky kimchi, the spicy maple syrup on the Monte Cristo, the Cincinnati Chili. For me, it’s any one of the dishes served over a bowl of rice.
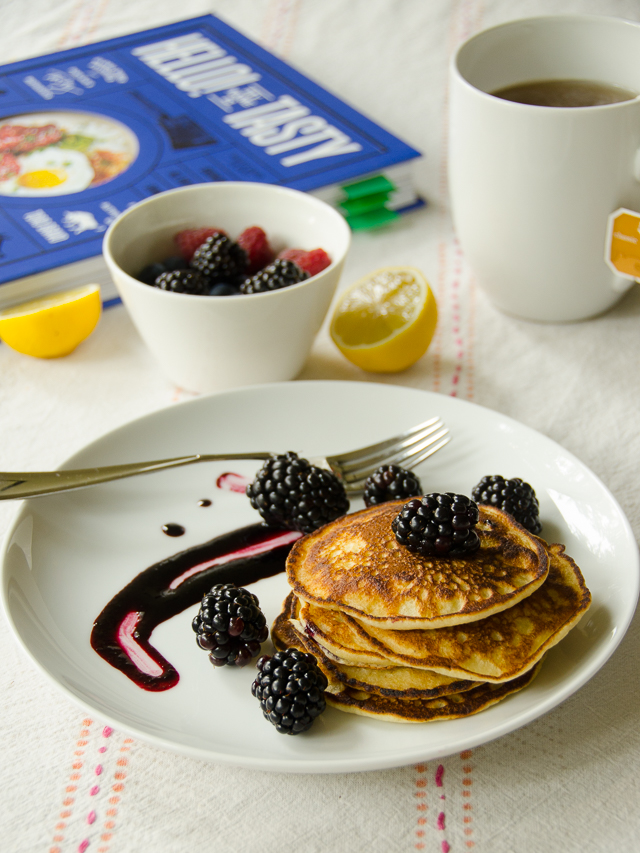
So it might be little surprising that I opted to make the lemon ricotta pancakes (see recipe below). For me, it was the perfect example of a brunch dish that could be as simple or as complex as you wanted to make it. Hello! My Name is Tasty gives you the ricotta and jam recipes, if you want to go there. At the same time, the headnote makes a point of saying, hey, if you want to use store bought, go ahead. There’s no judgment. I didn’t make the ricotta, though I did use homemade black cap raspberry syrup. Do I need to say this? They pancakes are delicious.
Gorham and Crain aren’t holding anything back. How you use the book is up to you, but if you’re up for making 9 pounds of bacon or 4 pounds of pastrami, the instructions are there. And if you’re going to put in the effort, who wants to make just a couple of pounds? That’s right, no one. At the same time, this isn’t ONLY a book of food projects.
Hello! My Name is Tasty strikes a good balance between put it my mouth ASAP and projects that require planning. Many of the recipes in the book take a little extra time for marinating or brining, hard boiling and cooling eggs, or making pickles and condiments. It’s all in service of a dish or snack board that’ll satisfy later. The point is to make something that lives up to the Tasty n Sons and Tasty n Alder mission.
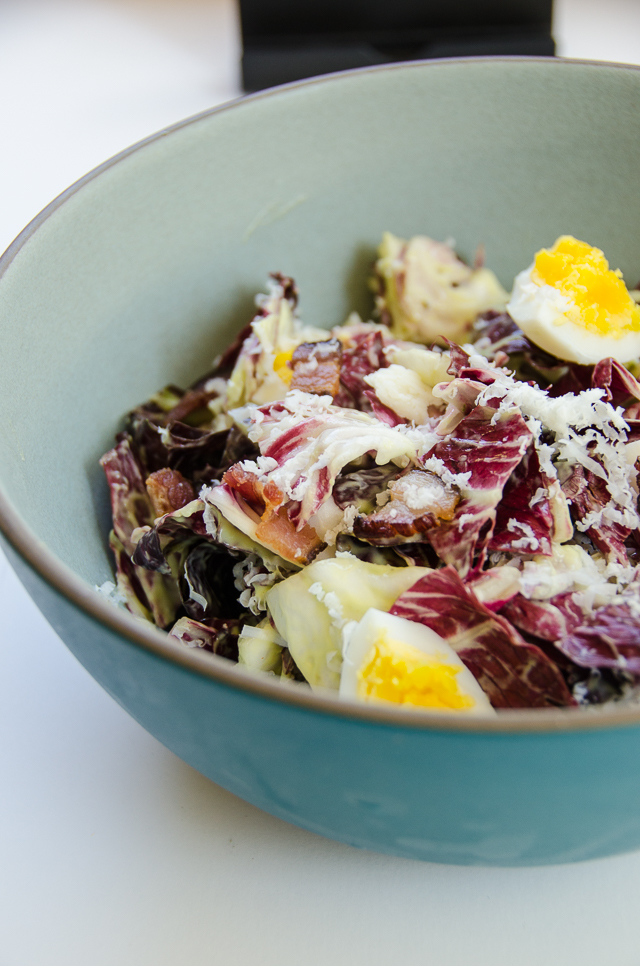
I’ll admit, I took on some of the easier recipes for this review. In addition to the pancakes, I went for the radicchio salad. With everyone so gaga over avocados, the Radicchio with Lardons, Manchego and Six Minute Eggs was the perfect showcase for old school green goddess dressing. I did make a smaller amount despite the warning about it potentially not emulsifying, and it was fine. My husband hates avocados and I was gonna be the only one eating it, so I took the risk.
The final dish I took for a test run was the Fried Green Tomato BLT. We’re in prime BLT season and I could think of no better way to take advantage than to pick up a few green ones and make this open face sandwich. Very straightforward and very delicious.
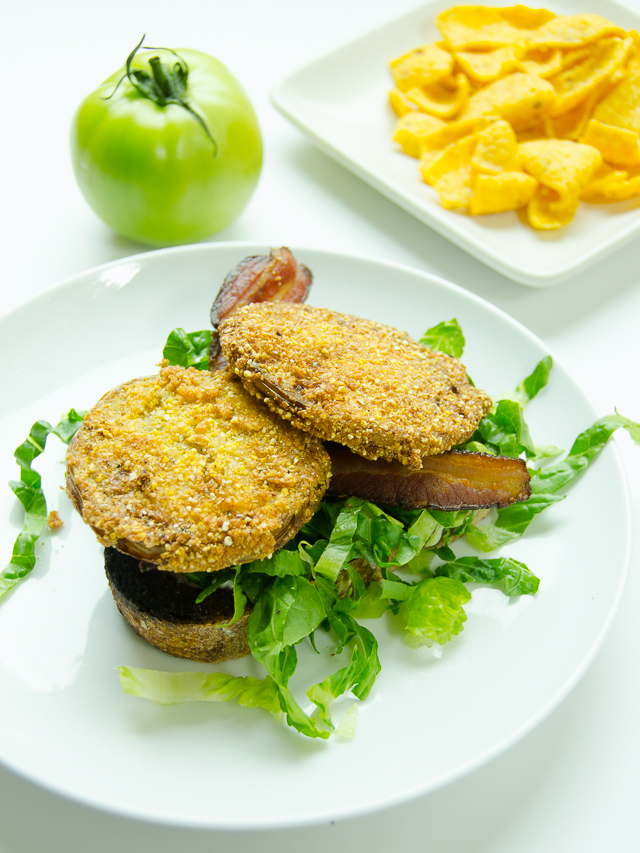
Fried Green Tomato BLT
A Hello! My Name is Tasty launch party is being held in Portland at Plaza del Toro tonight from 6-9 p.m, and is open to the public.
We have one copy of Hello! My Name is Tasty to giveaway. Enter for a chance to win below.
a Rafflecopter giveaway
>
No Purchase Necessary. For Official Rules visit: http://www.dailywaffle.com/giveaway-rules.
Lemon Ricotta Pancakes with Blackberry Jam
Ingredients
- 1 1⁄4 cup all-purpose flour
- 1⁄2 cup almond flour
- 1⁄4 cup plus 8 teaspoons sugar, divided
- 1 tablespoon baking powder
- 3⁄4 teaspoon kosher salt
- 1 cup Ricotta (recipe follows) or store-bought 11⁄2 cups whole milk
- 2 egg yolks
- Zest from 1 ½ lemons
- 4 egg whites
- 2 to 3 tablespoons unsalted butter, at room temperature
- 2 ¼ cups warm Blackberry Jam (recipe follows), for serving
- Maple syrup, for serving
- Ricotta
- MAKES 1 CUP
- Cheesecloth, for straining
- 1 quart whey (if you don’t have whey you can substitute skim milk)
- 3⁄4 cup whole milk
- 4 teaspoons apple cider vinegar
- 1 tablespoon heavy cream
- Kosher salt and freshly ground black pepper
- BLACKBERRY JAM
- MAKES ABOUT 1 QUART
- 1 tablespoon unsalted butter
- 1 Madagascar vanilla bean, split lengthwise and seeds scraped
- 2 ½ pounds fresh blackberries
- 1 ½ cups sugar
- About ½ teaspoon kosher salt
- Juice of about 1 lemon
Instructions
Sift the flours, 1⁄4 cup of the sugar, baking powder, and kosher salt one at a time into a large bowl, making sure there are no lumps. Give it a quick whisk to make sure everything is evenly distributed and set aside.
In a medium bowl, fold the ricotta and 4 teaspoons of the sugar together, making sure not to break up the ricotta too much. You want to have some bigger chunks in the pancakes eventually. Set aside.
In a large bowl, whisk the milk, egg yolks, and lemon zest until fully incorporated and set aside.
In the bowl of a stand mixer fitted with the whisk attachment, whisk the egg whites with the remaining 4 teaspoons sugar on medium-low speed until they form medium-stiff peaks. Keep an eye on this because you can overmix it.
Gently fold the dry ingredients into the milk mixture until combined. Add the ricotta mixture and fold gently (you want some nice big chunks). Finally, fold in the egg whites until just incorporated.
NOTE: Do not overmix this batter and activate the gluten. The key to a good pancake is not letting the gluten get tight— you want the pancakes fluffy.
Preheat a griddle to 350 degrees F, or place a large, well-seasoned cast-iron skillet over medium-high heat. Melt 1 tablespoon of butter until slightly browned, adding more as needed between batches.
Measure 1⁄4 cup of the batter per pancake and pour onto the griddle to make sand dollar–sized pancakes. As the pancakes begin to bubble and set on the bottom, flip them. If you’re not sure whether they’re ready to flip, get under them slightly with your spatula and take a little peek: you want them to fluff up and have a nice golden-brown color. Never push down on the pancakes.
Top each pancake with 2 tablespoons warmed blackberry jam and serve with maple syrup at the table.
RICOTTA
Line a fine-mesh sieve with the four to six overlapping layers of cheesecloth and place it over a large pot that will catch the eventual ricotta whey as it strains.
In a heavy-bottomed medium saucepan over medium heat, warm up the whey and milk until the mixture is 198 degrees F and then remove it from the heat.
Add the apple cider vinegar to the milk and slowly stir it to incorporate and then let the curds form, unattended and at room temperature for about 5 minutes.
Strain the curds through the cheesecloth-lined sieve over the large pot for 2 to 3 hours at room temperature.
Open up the cheesecloth and transfer the curds into a medium bowl. Reserve the whey, and use it for our sugo (see page 35, along with the storage note below) if you want. Add the cream and stir lightly making sure not to break up the ricotta too much. Season with salt and pepper to taste and serve, or refrigerate in an airtight container for up to 1 week.
BLACKBERRY JAM
1. In a medium nonreactive pot over medium heat, melt the butter and add the vanilla bean pod and seed. The vanilla will lend a little color to the butter, but you don’t want the butter to actually brown from the heat. Cook for about 2 minutes, or until the vanilla bean blooms (you’ll smell it).
2. Add the berries and sugar to the pot and stir. Once they begin to bubble, reduce the heat to medium low. Take your time and simmer gently for 45 to 90 minutes, depending on the water content of the berries. Blackberries contain more water than raspberries, strawberries have more than both, and frozen berries have generally double the water content of their fresh counterpart. You never want the jam to get above a simmer because a boil will start caramelizing the sugars, which changes the flavor.
3. To test for doneness, smear 11⁄2 teaspoons of the jam across a room-temperature plate. Tilt the plate: if the jam runs down the plate, continue to simmer and thicken; if it sticks in place, the jam is done and should be removed from the heat. (Once it cools, the jam will thicken even more.)
4. Taste the jam. Discard the vanilla bean pod or use it in our Tasty Vanilla Extract (page 98). Stir in additional sugar, salt, and lemon juice incrementally to taste. The more sugar you add to this jam, the more sharp the flavor will be. Adding the smallest amount of salt to it will counteract that sharpness and bring back the rounder, warmer, more berry-forward flavor. The lemon juice gives it a brightness that tends to enhance everything. Some berries have a good amount of natural acidity, such as the raspberry; if making this recipe with raspberries, the lemon juice will most likely be unnecessary.
5. Use the jam liberally for a couple days, warming it to serve, and freeze the remaining jam in airtight containers or ziplock bags. Always keep in mind that frozen foods expand slightly, so leave a little headspace to allow for that.
Notes
*(c)2017 by John Gorham and Liz Crain. All rights reserved. Excerpted from Hello! My Name is Tasty by permission of Sasquatch Books.